Serving Eastern Pennsylvania, Central and Southern New Jersey, and Delaware
Serving Eastern Pennsylvania, Central and Southern New Jersey, and Delaware
I’ve been reading articles about the promise of a paperless office my entire life, and for the most part, those articles have just created more paper.
For the first time in modern history, we now have the tools to go completely paperless. But before you go invest in a new gadget and hunker down to scan all of your paper, you can probably do a lot to reduce the amount of paper in your life.
If you really want to go paperless, start with these steps to have less paper in your life. You’ll find more space in your home.
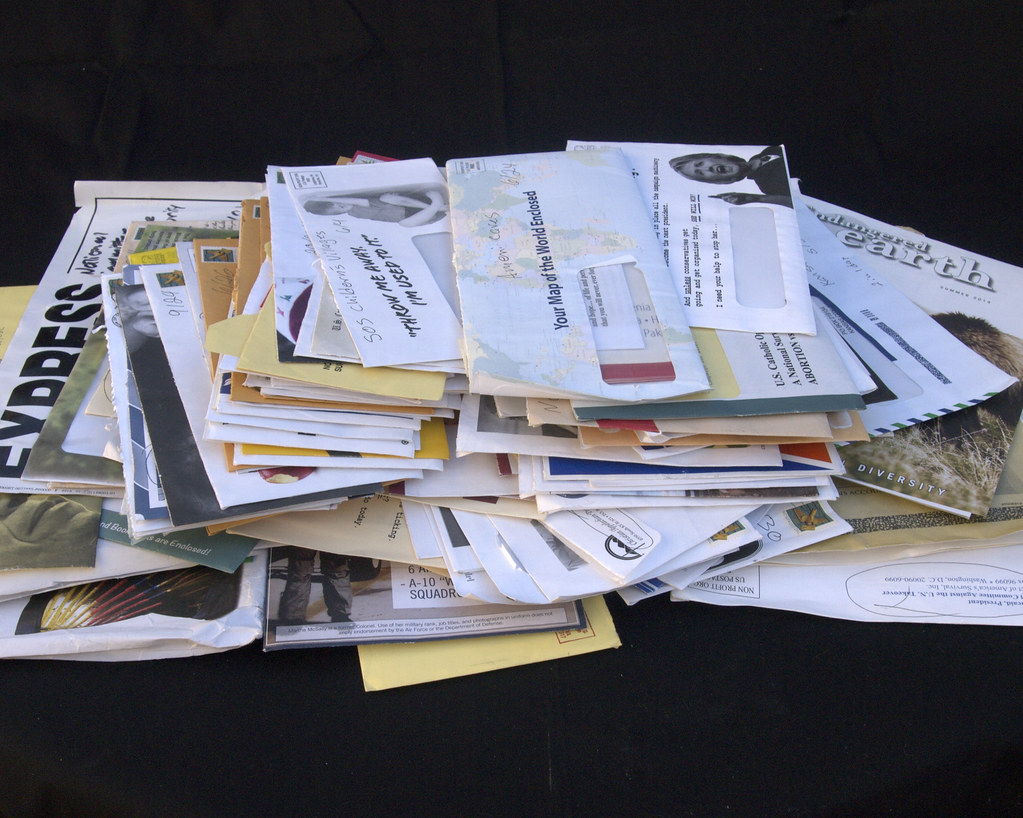
Everyone hates to file papers and we all have piles of them on our desks, tables, and any other flat surface around. No one likes to deal with all the papers that we still have even in our modern “paperless” society. Today I offer an easy, simple system that is not overwhelming and will have you binging Netflix in no time. The best part of this solution is that it’s only two steps!!
Even as a professional organizer, my ADHD gets in the way of keeping my attention on sorting papers for any significant length of time. As everyone knows, dealing with papers is boring. It becomes overwhelming so we give up and give in to the piles. So, out of necessity, I created this quick and easy system for dealing with the paper piles.
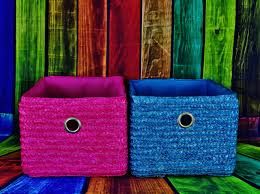
Step 1: Get 2 containers – boxes, plastic bins, baskets etc. to hold your papers. They can be pretty or they can be from the liquor store. The look of the container is up to you.
Step 2: Answer one yes or no question for each paper: “Does this paper have anything to do with my money, property, legal identification, or taxes?” If the answer is yes, it goes in box #1. If the answer if no, then it goes into box #2.
That’s it, you’re done filing! Even if you never do anything else with either box, you will be able to find any important paper that you need, when you need it. Most papers that we think we need to keep are rarely, if ever, referenced again.
If you need to find an important legal document, receipt or tax info you only have to look in Box #1. You don’t need to be distracted by all the non-legal or non-financial papers to find what you need. Your stress level is greatly reduced or even eliminated. If there is ever an emergency, storm, fire, or other need to evacuate quickly, you just have to grab Box #1.
Now, a lot of people would just not feel completely comfortable with this simple system. If you fall into this category, then take the next step. Get a 3-ring binder and some sheet protectors. Place all of the most critical documents – your birth certificates, passports, Social Security cards, marriage and divorce documents, property deeds, college transcripts, etc. and put them into the page protectors in the binder. Keep this binder in or near Box #1 and let all household members know about it and where it is. Believe me, this will save you so much time and stress when you need to locate these documents.
I know that this system works well as I just completed the process of getting both my Real ID and my passport. It was so much easier knowing where all of the documents were and that they were all together.

Now that you paper piles are tackled, grab some ice cream and enjoy your favorite show or activity. Guilt free. Now you are organized…at least with your papers!

My Evernote conversion occurred about five years ago. Stuffed in the back of my junk drawer (yes, I also have one) for several years, lay a handwritten recipe for the best maple balsamic salad dressing obtained from a restaurant in Vermont. Frustrated with my lack of organization for something so valuable, I downloaded Evernote and my life was forever changed.
I created a notebook in the Evernote app and titled it “Recipes,” took a photo of the recipe within the Evernote app et voila! Wherever I am, on my phone, tablet or laptop I have a screenshot of the recipe. I quickly saw how transformational this would be in both my personal and professional life. When a friend recommends a great restaurant, it goes into the notebook I created titled “Recommended Restaurants”. I also do this for movies, books, wine, travel destinations, decorating ideas. All those great details we scribble on the back of napkins never to find again.
If I’m surfing the web, I can use Evernote webclipper to clip an article or page and put it into the notebook of my choice. I can also dictate notes into Evernote and draw using the Skitch app.
I also have a notebook for each of my kids. I have a screenshot of their health insurance cards, health records, photos of their artwork from Kindergarten so I could get rid of those large poster-size monstrosities, er, I mean works of art. The list goes on.
For my business, I’m able to share notebooks with my team and with our clients. We often take notes during an organizing session and share these with our clients. Evernote also eliminates the need to email documents back and forth. Instead, the whole team can collaborate and has access whether they are working remotely or in the office to notes, documents, photos, etc.
I’m barely scratching the surface of Evernote’s endless possibilities. For more information and to create your free online account check out www.evernote.com

Does the thought of organizing your desktop bring music to your ears for the anticipation of the neat and orderly results of this accomplishment or does it bring painful groans of displeasure wondering how you will accomplish this seemingly impossible task for your desk?
As is the case with many tasks and projects, if we break it down into smaller parts then it’s not so overwhelming. Of course, there is always the super easy way out and that’s the complete one swipe and into the box removal. Quick, easy, and painless but I don’t think that’s really what you want to do. Especially not on National Clean Off Your Desk Day! So let’s take a look at a more organized and orderly approach.
1. Assess
First, take stock of what is on your desk. Consider what items you need to address such as: paper, files, and office supplies — along with any random items on your desk.
2. Store
Next, decide how to store these items that are currently on top of your desk.
3. Remove
Finally, remove miscellaneous items that have no relevancy to your work area. You may even find some items that are trash which is a super quick removal. Here is where the one swipe and into a box is a handy option. Make sure to return all of those random items such as books, magazines, empty coffee cups, etc. to their designated homes.
There you have it: 3 easy ways to tidy up your desktop! Optimize your productivity while at your desk by using 3 simple steps — Assess, Store, and Remove — to keep your desktop neat and organized.
I look at the last week of the year as a super productive week since I am not scheduled to work, and I can spend time getting myself ready for the new year. I want to be as organized as possible before January 5, 2015, which is my first day back to work! Below is a list of suggestions that may help you start your new year off a bit more organized.
Donations 
-If you want to maximize your donations for the 2014 tax year, take one more look through your closets, bookshelves, cabinets, attics, basements and garages to pull anything out that needs to be donated. Children’s toys and books are usually a gold mine for most donation establishments.
-After the holidays, as you integrate your new gifts, take stock of your duplicates, triplicates or otherwise unwanted things that can be better utilized by others.
-Keep in mind that you shouldn’t wait until December 31 to drop off your donations, because if the center hits their capacity level, they may stop accepting donations.
-Some donation centers will pick up your unwanted goods as long as you are on their schedule. Some donation center choices are GreenDrop, Vietnam Veterans of America, The Salvation Army, and Impact Thrift Stores.
-Make your final online cash donations as soon as possible since you don’t want to get stuck with slow or crashing websites at the last minute.
Files 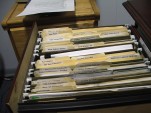
-Assuming that you have them, the end of the year is a great time to purge your old files and create new ones. If you need help creating a filing system, a professional organizer can help. You can go to the ‘Find an Organizer’ tab at the top of this page.
-Go through your 2014 bills, pull them out of their files, and clip or band them together if you are going to need them for your taxes. If you don’t need them for your taxes, I would suggest shredding anything that has personal information or account numbers. Most of my clients shred their department store bills and hold onto some of their utility bills for another year (I think they just want the security of having them…just in case).
– A filing cabinet or file box are both great choices to keep your files organized and accessible.
-If you scan your bills and receipts, remember to create new files on your computer.
Hopefully, there is something here that will help you start 2015 off with a little more organization in your world.
 If you are reading this, chances are that you will need an executor and/or will be an executor at some point in your life. An executor is the person named in a will to administrate the estate of the person who died leaving that will. The job of the executor is to make sure that the deceased person’s wishes, as described in the will, are carried out.
Here are some of the tasks executors perform:
These tasks can be complex, full of “red tape” and frustrating, so it is important to choose the right person for the job.
A good executor is:
Too often, people making a will choose their executor based on family dynamics or out of a wish to bestow an ‘honor’ on a special person in their life. They give little consideration to the personal traits and skills needed by the executor, with disastrous results. As a professional organizer specializing in finances and paperwork, I have witnessed these horror stories when the wrong person was chosen for the job of executor:
The key take-away from this post is to choose your executor carefully, based on the skills needed to do the job. But perhaps, you have already chosen an executor who lacks some of these skills, and you don’t want to make waves by changing. Or maybe, you have been named as someone’s executor and feel unqualified for the job. In either case, don’t despair, because help is available. Professional organizers can help inventory the deceased person’s possessions, and can help sell and/or donate possessions not inherited by a specific individual. Some organizers specialize in the organizing of finances, paperwork and information, and can help with these aspects of the executor’s job. A good place to find an organizer to help with the administration of an estate is the ‘Find an Organizer’ link at www.napo-gpc.org.


