We all have too much paper in our lives. Diane, who is the business manager at RieOrganize! tells the following story:
“I have always had a fairly high tolerance for paper clutter before I reach my limit and, even then, it’s often not a conscious decision to sort through everything – I just start small and then usually keep going. The other day was one of those days. Although I missed being outside on a beautiful day, I opened the windows and just applied myself. The reward? Being able to sit back, that night, and look around at so many cleared off spaces with a sense of calm. AND I reaped the side benefit of finding two things for which I had been searching!”
Mail and other paper is a huge source of clutter for everyone. Every day your mailbox is full of paper, and 90% of it is probably useless to you.
Review the mail you get and look for opportunities to switch to paperless billing or automatic payments. You’ll eliminate the possibility of losing the electric bill in a pile of mail, plus you’ll have one less piece of mail coming to your house in the first place.
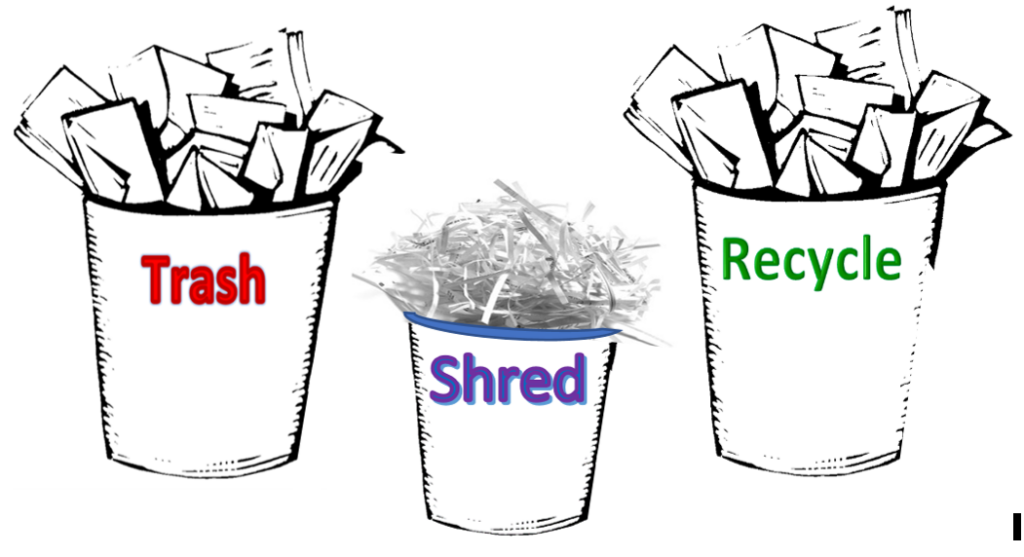
It’s important to have a system for processing mail. You know it’s coming every day, so figure out a system where you can sort it right away. Glance through the mail on your way back from the mailbox. Then when you’re in the house, toss junk mail in the recycle bin (or shredder if it includes personal information) and take immediate action on anything else.
Want to stop getting some of that junk mail altogether? Check out this resource from the Federal Trade Commission on ways to opt out of prescreened credit card offers, telemarketing calls, and other direct mail marketing.
WHAT TO KEEP AND WHAT TO TOSS?
Keep:
You should keep your tax records safe and secure, whether they are stored on paper or electronically. The same is true for any financial or health records you store, especially any document bearing Social Security numbers.
Keep:
Keep copies of your tax returns and supporting documents for at least seven years. Remember to keep records about property you own for seven years after the year in which you no longer own the property. This time frame allows you to file a claim for adjustment in cases of bad debt deduction or a loss from worthless securities. Always check with your tax advisor for further clarification and updates in tax regulations as they change every year.
Toss:
Dispose of old tax records properly. Never toss paper tax returns and supporting documents into the trash. Because of the sensitive nature of this data, the loss or theft of these documents could lead to identity theft and have an economic impact. These documents contain the Social Security numbers of you, your spouse and dependents, old W-2 income and bank account information. Therefore, your federal and state tax records, as well as any financial or health records should be shredded before disposal.
Toss:
Lots of mail looks like it’s official and even says “keep this for your records”, but sometimes you really don’t need to if the same information can be found online. If you bank online, you don’t need to keep the monthly paper statements since you can access them through your online bank account. You should reconcile your account before shredding the statements, but you don’t need to file and store that paper indefinitely. The same can be done for paper bills, but if you took our tip above, you’ve enrolled in autopay and paperless billing and don’t have to worry about paper bills anymore.
Not all of us can be as diligent and apply ourselves as easily as Diane did, so if you need help sorting through your clutter, contact an organizer. For a list of NAPO organizers, click here
I’ve been reading articles about the promise of a paperless office my entire life, and for the most part, those articles have just created more paper.
For the first time in modern history, we now have the tools to go completely paperless. But before you go invest in a new gadget and hunker down to scan all of your paper, you can probably do a lot to reduce the amount of paper in your life.
If you really want to go paperless, start with these steps to have less paper in your life. You’ll find more space in your home.
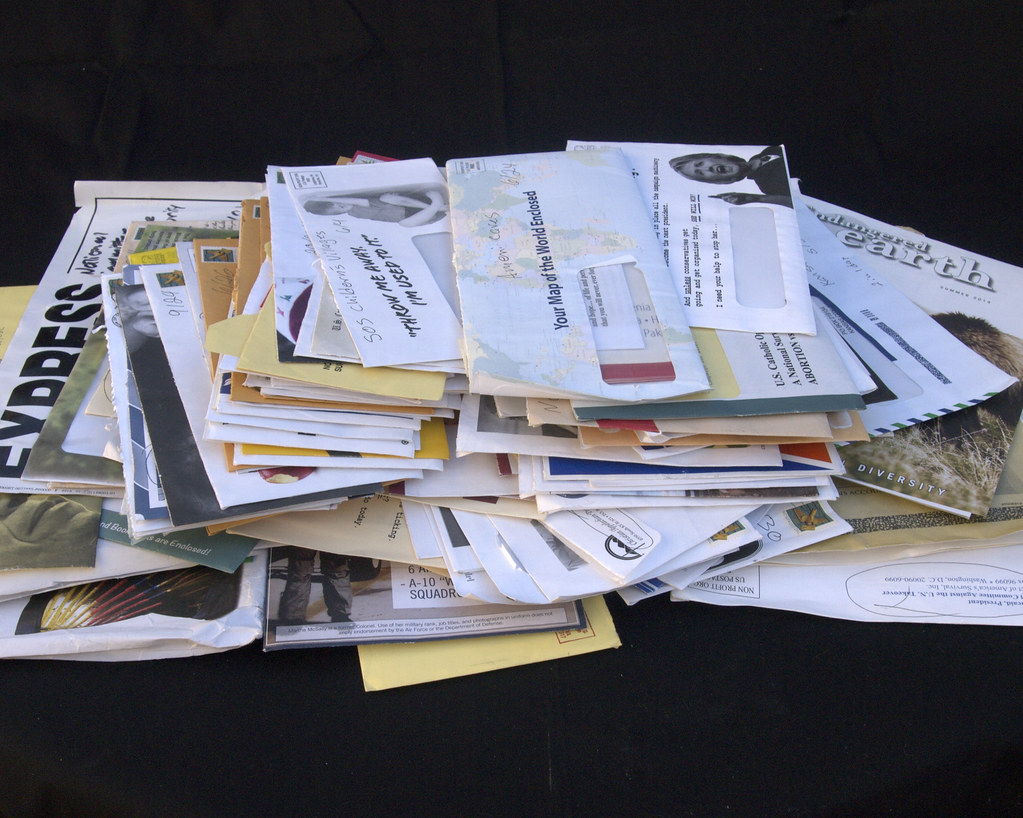
Everyone hates to file papers and we all have piles of them on our desks, tables, and any other flat surface around. No one likes to deal with all the papers that we still have even in our modern “paperless” society. Today I offer an easy, simple system that is not overwhelming and will have you binging Netflix in no time. The best part of this solution is that it’s only two steps!!
Even as a professional organizer, my ADHD gets in the way of keeping my attention on sorting papers for any significant length of time. As everyone knows, dealing with papers is boring. It becomes overwhelming so we give up and give in to the piles. So, out of necessity, I created this quick and easy system for dealing with the paper piles.

Step 1: Get 2 containers – boxes, plastic bins, baskets etc. to hold your papers. They can be pretty or they can be from the liquor store. The look of the container is up to you.
Step 2: Answer one yes or no question for each paper: “Does this paper have anything to do with my money, property, legal identification, or taxes?” If the answer is yes, it goes in box #1. If the answer if no, then it goes into box #2.
That’s it, you’re done filing! Even if you never do anything else with either box, you will be able to find any important paper that you need, when you need it. Most papers that we think we need to keep are rarely, if ever, referenced again.
If you need to find an important legal document, receipt or tax info you only have to look in Box #1. You don’t need to be distracted by all the non-legal or non-financial papers to find what you need. Your stress level is greatly reduced or even eliminated. If there is ever an emergency, storm, fire, or other need to evacuate quickly, you just have to grab Box #1.
Now, a lot of people would just not feel completely comfortable with this simple system. If you fall into this category, then take the next step. Get a 3-ring binder and some sheet protectors. Place all of the most critical documents – your birth certificates, passports, Social Security cards, marriage and divorce documents, property deeds, college transcripts, etc. and put them into the page protectors in the binder. Keep this binder in or near Box #1 and let all household members know about it and where it is. Believe me, this will save you so much time and stress when you need to locate these documents.
I know that this system works well as I just completed the process of getting both my Real ID and my passport. It was so much easier knowing where all of the documents were and that they were all together.

Now that you paper piles are tackled, grab some ice cream and enjoy your favorite show or activity. Guilt free. Now you are organized…at least with your papers!
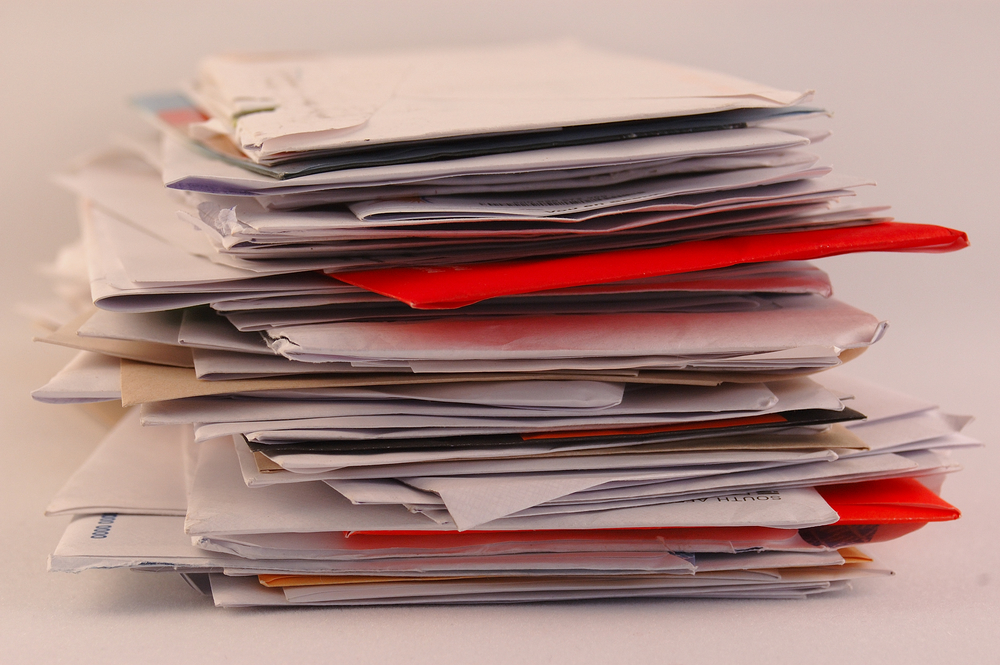
While helping clients organize their papers, they express concern that they’re doing something wrong when handling them more than once. What they’re unknowingly asking about is the OHIO (Only Handle it Once) rule.
Keep in mind, though, that OHIO is a guideline, not meant to always be applied. The intent is to Only Handle It Once, or as few times as necessary to completion.
Scenario 1
Scenario 2:
We don’t stop to think about how many times we handle the same papers — and how much time we waste. A lot!
Here’s a favorite productivity tip from David Allen’s book, Getting Things Done. His Two-Minute Rule states that if it takes less than two minutes, do it now. That doesn’t mean two minutes exactly, but just a few minutes to complete quick tasks. Brilliant!
Contact a pro organizer if you want to learn how to get more done in less time.
© 2019 Adriane Weinberg. All rights reserved.

First, let me confess: I am NOT what you might call an “Early Adopter” when it comes to technology.
I need to know that an app/program has been around a long time, is secure and is fast and easy to learn and use.
Here are 5 tech tools that meet those requirements. Use them daily to free up mental clutter, to run on time with appointments and projects, and to help you access information quickly.
You will enjoy the benefits of a calmer daily routine and the ability to access information speedily if you take a little effort to use one or more of these tech tools!
As a kid, April 15 was a holiday in our house. It was the day my accountant mother could breathe again after over 3 long months of helping her clients. I may have learned a thing or two along the way, so I’m happy to share some tips on how to get organized before heading to your accountant’s office, or, if you’re one of those brave souls who tackles the task on your own, before you sit down at the kitchen table amid a sea of paperwork. In either case, the key is starting early… as in January 1 early.

Taxes can get pretty complicated depending on what kind of return you have to file. Do you have a business? Dependents? Itemized deductions? There are already a lot of great sources of information out there about which documents and information you need to gather. Instead, let’s focus on how to move through this year proactively so that when April 2020 rolls around, you won’t be scrambling to find all this documentation.
The first thing you should do is have a dedicated folder where you can file any paperwork that you may need come next April.
Know which documents you need to keep in each folder and make lists. If you need help with this, your tax preparer should be able to help you create a customized list based on how you file and the specifics of your financial architecture. Otherwise, here’s a great general resource: https://www.rgbrenner.com/resources/what-do-i-bring-to-my-tax-appointment/
Attach these lists to the front of each folder. Cross off items as they go into the folder.
Documents come in all year, so this is a great way to keep yourself informed at a glance. A few notes:
Now that you’re filing, try to stay ahead of the record-keeping by doing it monthly. This effort will help both you and your accountant simplify the process come March or April, so you don’t have to scramble to collect all the information and dollar amounts in a last-minute rush.
Pick your poison to start an electronic or written file for keeping records of expenses. I’m a lover of Excel, but some folks prefer Word or even handwritten lists. If you’re in the latter camp, I recommend buying a dedicated ledger book to record line items. Keep separate files for personal and business. Once a month, go through your saved receipts and enter them into your record. Remember to categorize the type of expense for each receipt.
————
As you can see, it’s all about establishing a system that you can easily maintain throughout the year with minimal effort. It’s so easy to get behind with all the personal and professional obligations we balance. If we can stay aligned with the system and find an hour a month to maintain it, then when that April 15 holiday inevitably rolls around again, we can face it head-on with confidence and careful preparation.
¹ https://www.rgbrenner.com/resources/what-do-i-bring-to-my-tax-appointment/